Have you dehydrated food before, or tasted jerky or apple chips? These were staple roadtrip snacks for me growing up. Feeling nostalgic, I picked up a food dehydrator last spring and dove into the wonderful world of dehydrating. Today, I am sharing some things I have learned about why to dehydrate food, what to use, and how to do it.
For me, it started with preparing for a backpacking trip, where I wanted to shake up my usual trail mix and instant oats with something hearty and homemade. From savoury moose shepherd’s pie, to delightfully sweet apple crisp, I could tote along lightweight, tasty meals to enjoy after a hard day’s hike. Add hot water and voila, dinner is served! No longer was I going to ‘rough it’ in the woods, if I could bring a taste of home with me.
But this isn’t the only reason to try dehydrating food: it’s also a fun and safe way to process food and helps preserve it for longer. By removing moisture from the food, we can prevent bacteria from growing while still maintaining flavour. Make sure you’re following food-safe steps while preparing your food!
Why dehydrate food?
- Convenience: Many dehydrated snacks are ready to eat as-is, making them perfect for when you’re on the go. Whether you need a snack to take to the park, some quick fuel for your bike ride, or something to munch on at work, dehydrated foods are lightweight and portable!
- Reduce food waste: Have a large haul of zucchini, or extra plums you can’t get through? Try making some crispy zucchini chips or fruit leather! For other tips on minimizing garden or grocery waste, check out Carmen’s article here.
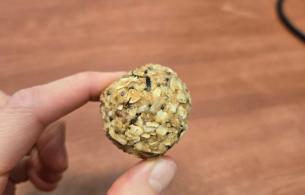
- Variety: Meat, fish or tofu jerky, dried herbs*, crispy veggie bites, fruity leather or chips… the possibilities are endless!
(*Herbs are best dried in the oven as they’ll likely blow around in a dehydrator)
Ok, so where do I start?
If you’re using a dehydrator or another appliance with this function (such as an air fryer), make sure to check the manufacturer’s recommendations for temperature and time settings for specific foods.
Don’t have a dehydrator? Try these options:
- Check if your community has a one in a lending library (such as Terrace’s Library of Things)
- Use an oven or toaster oven on the lowest setting. Most foods will dry in about 6-10 hours but this can vary so don’t be afraid to check it as you go.
- Dry food outside on a hot summer day. Keep in mind that it can take several days for food to dry outside, so make sure to check the weather forecast! Use a screen to protect your food from hungry, curious critters! It’s a good idea to bring your food indoors overnight to protect it from the moisture in the cool night air.
Tips
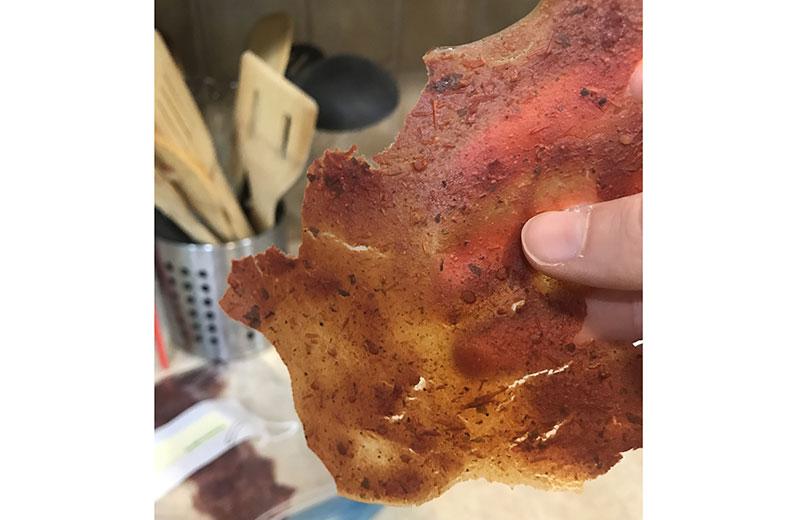
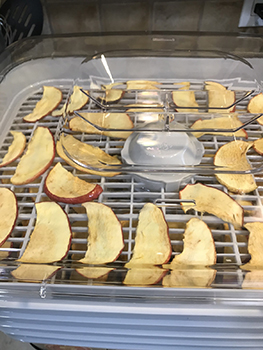
- Prep your food: ¼“ slices work well, spread out on a tray or dehydrating rack to allow air circulation for even drying.
- Squeeze a little lemon juice on fruit before drying to prevent browning.
- If a food is sticky to touch, it isn’t quite dry yet!
- Foods higher in fat (e.g. fattier cuts of meat, dairy) are trickier to dry and store, so you may want to pass on dehydrating these foods as a beginner.
- For mixed meals, cook the dish first as you normally would, then dehydrate it afterwards. Or, dehydrate individual components then mix together!
- If you are drying more pungent foods (think: onions, garlic) it is a good idea to do this in a well-ventilated area (trust me, your neighbours will thank you!)
- Make sure to store dehydrated food in a waterproof, airtight container!
Maybe this sparks your curiosity and you’ll be tempted to try dehydrating your own food. If you do, let me know in the comments below! Happy dehydrating!
Learn more about preserving food:


Comments